Install and First Test
This tutorial has some short setup instructions if you just want to get a taste of what Fuego is like. This allows you to experiment with Fuego and try out some tests to see what it looks like and how it works, without investing a lot of time (well, except for the first container build).
In this configuration, we will show you how to install Fuego and run a test on a ‘docker’ board, which is the docker container where Fuego itself is running, on your host machine.
Obviously, this is not useful for testing any real hardware. It is intended only as a demonstration of Fuego functionality.
For instructions to set up a real board, try the Fuego Quickstart Guide or the Installing Fuego page.
Overview
An overview of the steps is:
Install pre-requisite software
Download the Fuego repository
Build your Fuego container
Start the container
Add the ‘docker’ board to Jenkins
Add some sample tests
Access the Jenkins interface
Run a test
These steps are described below.
Step details
To install and run Fuego, you need to have git and docker installed on your system.
On Ubuntu, try the following commands:
$ sudo apt install git docker.io
To download Fuego, and build and start the container, type the following commands at a Linux shell prompt:
$ git clone https://bitbucket.org/fuegotest/fuego.git
$ cd fuego
$ ./install.sh
$ ./start.sh
The third step (with :command:./install.sh) will take some time - about 45 minutes on an average Linux machine. You might want to go make yourself a sandwich, (or go watch the Fuego introduction video). This step is building the “Fuego” distribution of Linux (based on Debian) and putting it into the Fuego docker container. You will also need a connection to the Internet with fairly decent bandwidth.
When you run the ‘start.sh’ script, the terminal will be placed at a shell prompt, as the root user inside the docker container. The container will run until you exit this shell. You should leave it running for the duration of your testing.
The next steps populate the Jenkins system objects used for testing:
At the shell prompt inside the container type the following:
# ftc add-node -b docker
# ftc add-jobs -b docker -t Functional.batch_smoketest
This will add the ‘docker’ node in the Jenkins interface, and a small set of tests. The ‘docker’ node simulates an embedded “board” using the Fuego docker container itself. The “smoketest” batch test has about 20 tests that exercise a variety of features in a Linux system. After running these commands, a set of jobs will appear in the Jenkins interface.
$ firefox http://localhost:8090/fuego
To access the Fuego interface (Jenkins) you can use any browser - not just Firefox. By default the Fuego interface runs on your host machine, on port 8090, with URL path “/fuego”.
In your browser, you should see a screen similar to the following:
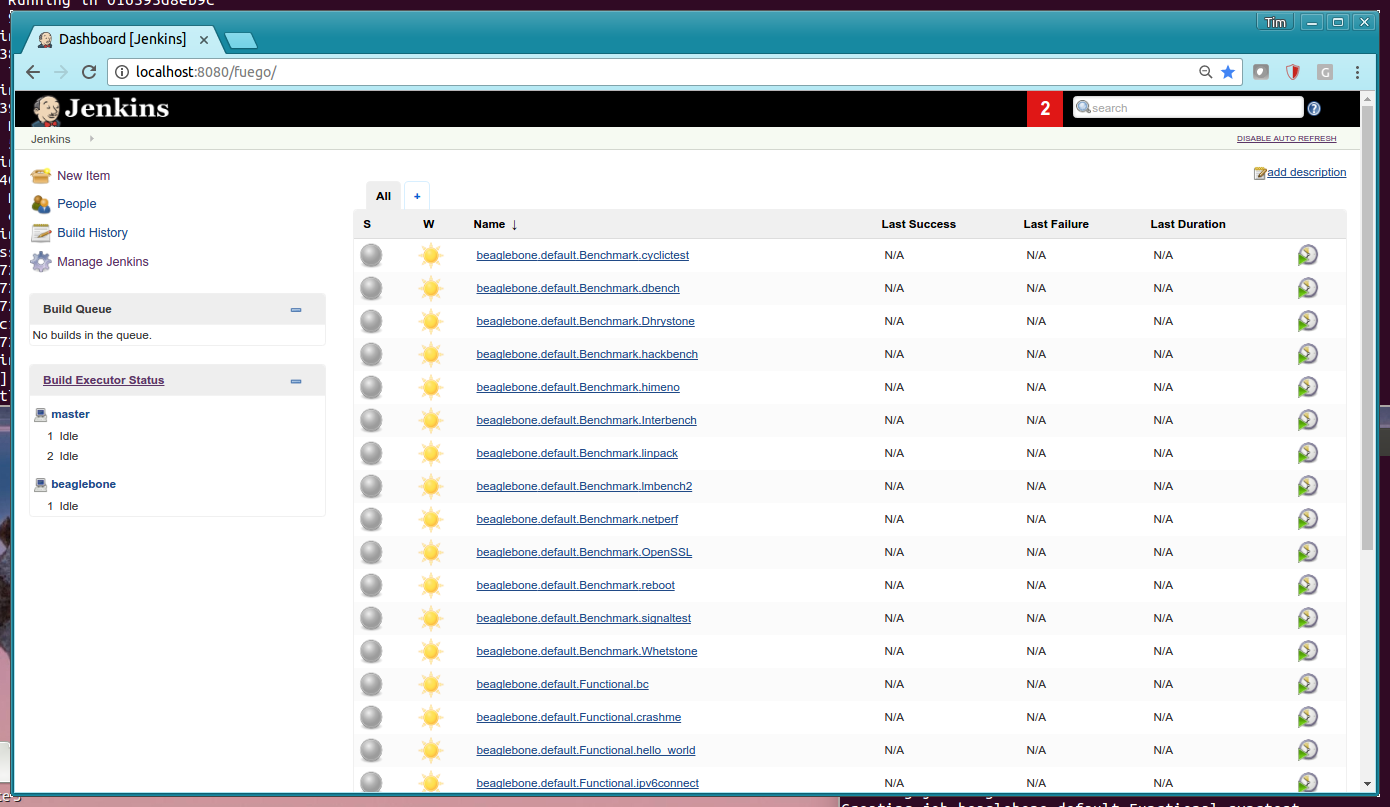
Run a test
Manually start a test
- To run a job manually, do the following:
Go to the Jenkins dashboard (in the main Jenkins web page),
Select the job (which includes the board name and the test name)
Click “Build job” (Jenkins refers to running a test as “building” it.)
- A few very simple jobs you might start with are:
Functional.hello_world
Benchmark.Drhystone
You can also start a test manually by clicking on the circle with a green triangle, on the far right of the line with the job name, in the Jenkins dashboard.
When you run a test, the test software is built from source, sent to the machine (in this case the Fuego docker container), and executed. Then the results are collected, analyzed, and displayed in the Jenkins interface.
Look at the results
When the test has completed, the status will be shown by a colored ball by the side of the test in the dashboard. Green means success, red means failure, and grey means the test did not complete (it was not run or it was aborted).
You can get details about the test by clicking on the links in the history list. You can see the test log (the output from the test program), by clicking on the “testlog” link. You can see the steps Fuego took to execute the test by clicking on the “console log” link on the job page. And you can see the formatted results for a job, and job details (like start time, test information, board information, and results) in the test’s ‘run.json’ file.
Conclusions
Hooray! You have completed your first Fuego test. Although this was not a test on real hardware, you (and Fuego) have completed a lot of stuff behind the scenes. You have:
Downloaded your own distribution of Fuego and installed it in a docker container
Added a fake “board” to Jenkins
Added tests to run on the board
Executed a test
During this last step, Fuego did the following:
Built the test program from source code
Downloaded the test to the “board”
Executed the test
Retrieved the test log from the board
Analyzed the log, and formatted results for display in Jenkins
Whew! That’s a lot of work. And all you had to do (after initial installation) was click a button.
What do do next?
In order to use Fuego in a real Continous Integration loop, you need to do a few things:
Configure Fuego to work with your own board or product
Select the set of tests you would like to run on your board
Customize benchmark thresholds and functional baselines for those tests, for your board
Configure Fuego jobs to be triggered after new software is installed on the board
Fuego does not currently have support for installing new system software (the kernel and root filesystem) on boards itself. This is something you need to automate outside of Fuego, if you plan to use Fuego in your CI loop for system software.
Usually, Fuego users create their own Jenkins job which provisions the board (installs the kernel and/or root filesystem for their chosen Linux distribution), and then triggers Fuego jobs, after the new software is installed on the board.
See further instructions see the Fuego Quickstart Guide, Adding a Board, Adding a toolchain or the Installing Fuego page.